


BING PLACES FOR BUSINESS
Bing Places for Business: A Comprehensive Guide for Boosting Your Online Presence.

In the age of digital marketing, having a solid online presence is crucial for the success of any business. This includes creating and maintaining listings on platforms such as Google Business Profile, TripAdvisor, and Yelp. One platform that is often overlooked, yet highly valuable, is Bing Places for Business.
In this comprehensive guide, we will discuss the importance of Bing Places, the process of creating and optimizing listings, and the numerous benefits it offers to businesses.
Table of Contents
Introduction to Bing Places for Business
Before Creating Bing Listings
Creating Bing Listings
Manually Adding Bing Listings
Importing Data from Google Business Profile
Optimizing Your Bing Places Listing
Managing Multiple Bing Listings
Bing Places for Business Vs. Google Business Profile
Benefits of Bing Places for Business
Bing Search Statistics You Need to Know
Frequently Asked Questions
Conclusion
1. Introduction to Bing Places for Business
Bing Places for Business is a free online directory that allows businesses to manage their online presence on Bing's search engine and Bing Maps. By claiming and optimizing your Bing Places listing, you can ensure that your business gets more visibility in Bing's search results, which can result in more customers discovering your business. In this section, we will discuss the basics of Bing Places and the process of creating a listing.
2. Before Creating Bing Listings
To begin, visit Bing Places and sign in with your preferred account, such as Google, Facebook, Microsoft, or your work email. It is recommended to use the same account you use for other online listings, making it easier to manage all platforms.
After linking your account, you will be prompted to provide additional information about yourself, enabling Bing to contact you if needed.
Once your account is set up, you are ready to create your Bing Listings.
3. Creating Bing Listings
There are two ways to create Bing Listings: manually or by importing data from your Google Business Profile. In this section, we will discuss both methods in detail.
3.1 Manually Adding Bing Listings
Step 1: Claim Your Listing
Click "Claim or add your business manually" and select your business type and country. There are three types of businesses that Bing can list:
- Small or medium businesses (SMBs) - less than 10 locations
- Chain businesses - more than 10 locations (ideal for multi-location franchises and retail stores)
- Online business - Bing will not allow you to continue creating a listing
Step 2: Search for Your Business
Enter your Business Name and location, then click "Search." If your business appears in the search results, click "Claim Business." If not, click "My business is not listed in the search results" and proceed to create a new business listing.
Step 3: Create a New Business Listing (Basic Info)
Fill out the form with your business name, phone number, and address. You may need to adjust the map pin to indicate your exact location accurately. Click "Next" when done.
Step 4: Add Category Information
Select the appropriate Segment of Business (also known as verticals or sectors) and categories for your business. This will help your listing appear in relevant user search results.
Step 5: Select Additional Business Details
Choose whether to display your address or not. Service area businesses are recommended not to show their addresses if they visit residential or commercial areas. In that case, Bing will only show the city, region, postcode, and country initials. Also, select if you are a professional or a business.
Step 6: Add Contact Details
Add your email address, social media URLs, and other online listings. This step is optional, so you can skip it if you have no additional contact information to provide.
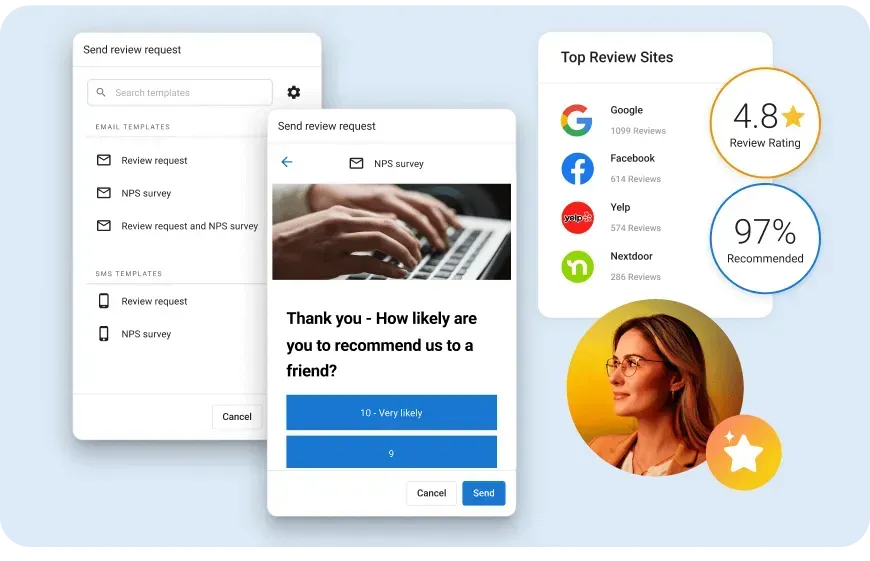
Step 7: Add Photos
Upload up to 100 photos of your location, products, and staff members. This step is also optional, so you can skip it if you have no photos to upload at this time.
Step 8: Select Working Hours
Choose whether to show your business hours on Bing Listings or state that you are open 24/7. Depending on your store operations, choose the best option.
Step 9: Verify Your Listing
After filling out your business details, verify your listing via Post. Bing will send a verification PIN to your business address, which may take longer than a week for non-US addresses. Once verified, your listing should go live within two weeks to a month.
3.2 Importing Data from Google Business Profile
If you have a verified Google Business Profile, you can import your listing data to Bing Places. Click "Import data from Google My Business" and follow the prompts to connect your Google account. Once connected, select the Profile you want to link with your Bing listing, and it will also be verified and live on Bing.
4. Optimizing Your Bing Places Listing
To ensure your Bing Places listing is effective in driving traffic to your business, it's essential to optimize it. This includes selecting the appropriate categories, providing accurate contact information, and uploading high-quality images. Regularly updating your listing with new information and promotions can also help keep your listing fresh and engaging for potential customers.
5. Managing Multiple Bing Listings
If your business has more than one location, you can manage all your Bing listings in one place using Bing Places Dashboard. This makes it easy to update information across all locations and monitor your online presence effectively.
6. Bing Places for Business Vs. Google Business Profile
While both Bing Places and Google Business Profile are free online directories for businesses, they belong to different search engines. Bing Places is designed for local businesses with or without a physical location, whereas Google Business Profile is suitable for all businesses. It's important to maintain listings on both platforms to maximize your online visibility and reach a broader audience.
7. Benefits of Bing Places for Business
Creating a listing on Bing Places offers several benefits for businesses, including:
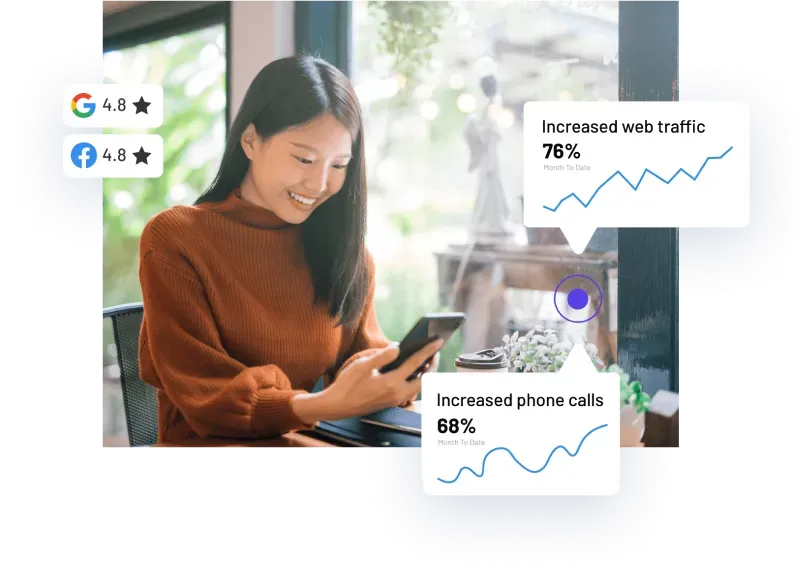
- Increased visibility in Bing search results
- Access to a different audience that may not use Google
- Improved rankings in local search results
- Free marketing and promotion opportunities
By listing your business on Bing Places, you can tap into an audience that exclusively uses Bing or multiple search engines, potentially gaining more customers.
8. Bing Search Statistics You Need to Know
To make the most of Bing Places for Business, it's important to understand the key search statistics and trends that can impact your listing. This information can help guide your marketing strategy and make informed decisions about your online presence.
9. Frequently Asked Questions (FAQs)
What's the difference between Bing Places & Google My Business?
Bing Places for Business and Google Business Profile are both free directories for businesses but belong to different search engines. It's essential to maintain listings on both platforms to maximize your online visibility and reach a broader audience.
Is Bing Places for Business free?
Yes, Bing Places is a free listing service that helps businesses manage their online presence on Bing search engine and Bing Maps.
How do I get my business to show up on Bing?
To improve your chances of appearing on Bing's search results, ensure your website is Bing-friendly by creating high-quality content containing relevant keywords. Submit your website to Bing Webmaster Tools, and create a Bing Places listing for your business.
10. Conclusion
In conclusion, Bing Places for Business is a valuable platform for businesses looking to boost their online presence and reach more customers. By creating and optimizing a Bing listing, you can improve your visibility in Bing search results and tap into a different audience that may not use Google.
With its free and user-friendly features, there's no reason not to take advantage of Bing Places for your business. So, don't wait any longer – get started with Bing Places today and watch your business grow.